
Misskey是一款开源、永久免费的社交平台,允许服务器所有者搭建他们自己的Misskey。本篇文章将介绍如何不借助docker直接在Ubuntu上手动安装Misskey,并设置apache2反向代理。
1.安装node.js和yarn
Ubuntu 20.04的node.js包过于老旧(需要18.13.x),无法满足Misskey的要求。这里使用nodesorce提供的安装方法安装Node.js:
wget https://deb.nodesource.com/setup_18.x
sudo bash setup_18.x
sudo apt-get install -y nodejs
此外我们还需要安装yarn,在node.js安装完毕后会提示安装方法。可以使用以下命令安装:
curl -sL https://dl.yarnpkg.com/debian/pubkey.gpg | gpg --dearmor | sudo tee /usr/share/keyrings/yarnkey.gpg >/dev/null
echo "deb [signed-by=/usr/share/keyrings/yarnkey.gpg] https://dl.yarnpkg.com/debian stable main" | sudo tee /etc/apt/sources.list.d/yarn.list
sudo apt-get update && sudo apt-get install yarn
需要打开corepack:
sudo corepack enable2.安装其他依赖
还需要安装PostgreSQL(15.x)、Redis、ffmpeg,请按目前您的实际情况进行安装。
sudo apt install redis-server ffmpeg安装PostgreSQL(15.x,版本必须匹配)
sudo sh -c 'echo "deb http://apt.postgresql.org/pub/repos/apt $(lsb_release -cs)-pgdg main" > /etc/apt/sources.list.d/pgdg.list'
wget -qO- https://www.postgresql.org/media/keys/ACCC4CF8.asc | sudo tee /etc/apt/trusted.gpg.d/pgdg.asc &>/dev/null
sudo apt update
sudo apt install postgresql
3.安装Misskey
新建无密码用户Misskey:(以免使用root造成不安全)
sudo adduser --disabled-password --disabled-login misskey进入用户Misskey
/bin/sudo -iu misskeyclone Misskey repository后进入目录:
git clone --recursive https://github.com/misskey-dev/misskey.git
cd misskey
检查最近的更新:
git checkout master下载子模块:
git submodule update --init安装Misskey的依赖项:
npm install --frozen-lockfile上边是官方提供的安装依赖命令,如果不行的话可以试试:
npm install --no-frozen-lockfile4.设置Misskey
将.config/example.yml复制为default.yml,后打开编辑:
cp .config/example.yml .config/default.yml
vim .config/default.yml
按照实际情况进行设置即可。
6.Build Misskey
NODE_ENV=production npm run build需要已经安装“build-essential”和“python”这两个包。
7.初始化Misskey
设置数据库(需要退出misskey账户进行sudo)
/bin/sudo -u postgres psql
create database misskey with encoding = 'UTF8';
create user misskey with encrypted password '刚才填写的密码';
grant all privileges on database misskey to misskey;
\q
然后运行以下命令进行数据库的初始化:(需要在misskey账户,于~/misskey)
npm run init尝试启动Misskey
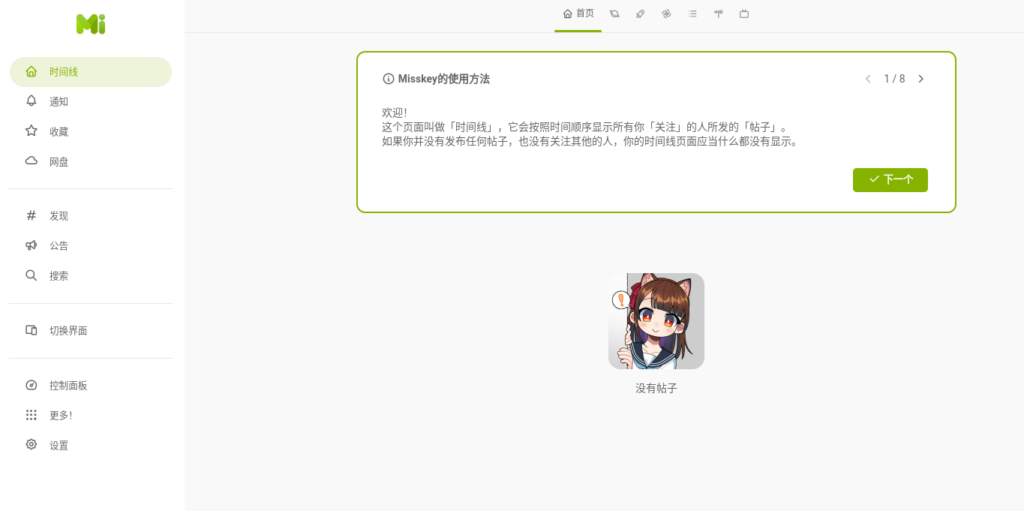
NODE_ENV=production pnpm run start如果一切正常的话现在就启动成功了,提示访问网址和端口。
8.设置在systemd以开机启动
退出misskey用户以便使用sudo,新建/etc/systemd/system/misskey.service文件
sudo vim /etc/systemd/system/misskey.service填写以下内容
[Unit]
Description=Misskey daemon

[Service]
Type=simple
User=misskey
ExecStart=/usr/bin/npm start
WorkingDirectory=/home/misskey/misskey
Environment="NODE_ENV=production"
TimeoutSec=60
StandardOutput=journal
StandardError=journal
SyslogIdentifier=misskey
Restart=always

[Install]
WantedBy=multi-user.target
启用misskey服务(并设置开机启动):
sudo systemctl enable misskey开启misskey:
sudo systemctl start misskey9.使用apache2设置反向代理
Nginx设置方法官网已给出,请移步Nginx configuration。
在/etc/apache2/sites-available/下创建一个文件.conf
<VirtualHost *:443>

	# This is a working example for Apache as a ReverseProxy in front of Calckey
	# Change the "ServerName", "ServerAdmin" to the correct values in your environment

	ServerName example.net
	ServerAdmin admin@example.net
	DocumentRoot /var/www/
	#LogLevel info ssl:warn
	ErrorLog ${APACHE_LOG_DIR}/calckey.log
	CustomLog ${APACHE_LOG_DIR}/calckey.log combined

	# Change the 127.0.0.1 to the IP of your Calckey Server. If you are running Calckey on the same machine as Apache - you can let the value be 127.0.0.1
	# This rewrite need to be in place, in order to upgrade the WebSocket connection to the application

	RewriteEngine On
	RewriteCond %{HTTP:Upgrade} =websocket [NC]
	RewriteRule /(.*)           ws://127.0.0.1:3000/$1 [P,L]
	RewriteCond %{HTTP:Upgrade} !=websocket [NC]
	RewriteRule /(.*)           http://127.0.0.1:3000/$1 [P,L]

	# Here we define the path to the WebSocket

	ProxyPass "/streaming" "ws://127.0.0.1:3000/streaming"
	ProxyPassReverse "/streaming" "ws://127.0.0.1:3000/streaming"

	# Here is the basic ReverseProxy configuration

	ProxyPass / http://127.0.0.1:3000/
	ProxyPassReverse / http://127.0.0.1:3000/
	ProxyRequests On
	ProxyPreserveHost On

	# Add Headers

	RemoteIPHeader X-Forwarded-For
	RemoteIPHeader X-Real-IP

	# Change this value to the IP of the Proxy
	RemoteIPInternalProxy 127.0.0.1


	RequestHeader set "X-Forwarded-Proto" expr=%{REQUEST_SCHEME}
	RequestHeader set "X-Forwarded-SSL" expr=%{HTTPS}

	# SSL-configuration - add the path to you certificates here.

	SSLCertificateFile /path/to/cert.crt
	SSLCertificateKeyFile /path/to/key.key
	# SSLCertificateChainFile /path/to/intermediate.crt

	# Example config if you are using Lets Encrypt

	#SSLCertificateFile /etc/letsencrypt/live/example.net/fullchain.pem
	#SSLCertificateKeyFile /etc/letsencrypt/live/example.net/privkey.pem
	#Include /etc/letsencrypt/options-ssl-apache.conf

</VirtualHost>
设置完毕后a2ensite并重启apache2
sudo a2ensite 刚才创建的文件.conf
sudo service apache2 restart
到此就应该可以访问了!和朋友一起享受自己的社交平台吧!
参考资料
- Misskey Setup and Installation Guide | Misskey Hub
- NodeSource Node.js Binary Distributions
- Apache2 as webserver for Misskey


近期评论